

As Fall slowly starts to change the air from humid and sticky to brisk and cool I can't help but think about all of the boutiful fruits that are being carefully preserved for the upcoming winter. I feel like canning has made me much more in tune with nature around me and aware of my environment.
As many in the U.S. know, California is in a critical state of drought. I beleive it is the worst it has been since the 1960's. A few months ago when we drove through the heartland of CA we noticed numerous signs in front of farms calling for water conservation. Now I don't live on a farm but I do like to buy direct from farmers and when that produce is in their peak so hearing so much about the drought worries me.
Now on to the Canning! I am going to kick this season off with one of my all time favorites Pear Vanilla Jam! I made this years ago when I first got into canning yet I never blogged it! It is one of those recipes that you can easily fall in love with and eat over and over.
Pears start to come into season in late Summer and last until January. I usually like my pears to be very firm otherwize the consistency can be a little grainy.

Pear Vanilla Jam
(Adapted from Food in Jars)
8 cups of pears (coarsly chopped). I used Bosc.
1 TSP high quality vanilla extract
1 TSP cinnamon
4 cups of sugar
1 package of liquid pectin. I use Ball
1/4 cup of water
Fill you canning pot with hot water. Place jars inside pot and sanitize on another burner. Combine chopped pears, sugar, cinnamon, vanilla extract and water into a large wide bottomed pot. Cook over medium heat until pear soften. Now grab your potato masher and take out some frustration on those pears. Mash em up!

Now add 1 package of Ball liquid pectin. Stir well and bring to a boil.
Now take a little water from your canning pot and put in bowl with the lids. You don't want to boil the lids with the jars because the wax seal will be useless. Just sanitize the lids in a bowl with a little boiling water.
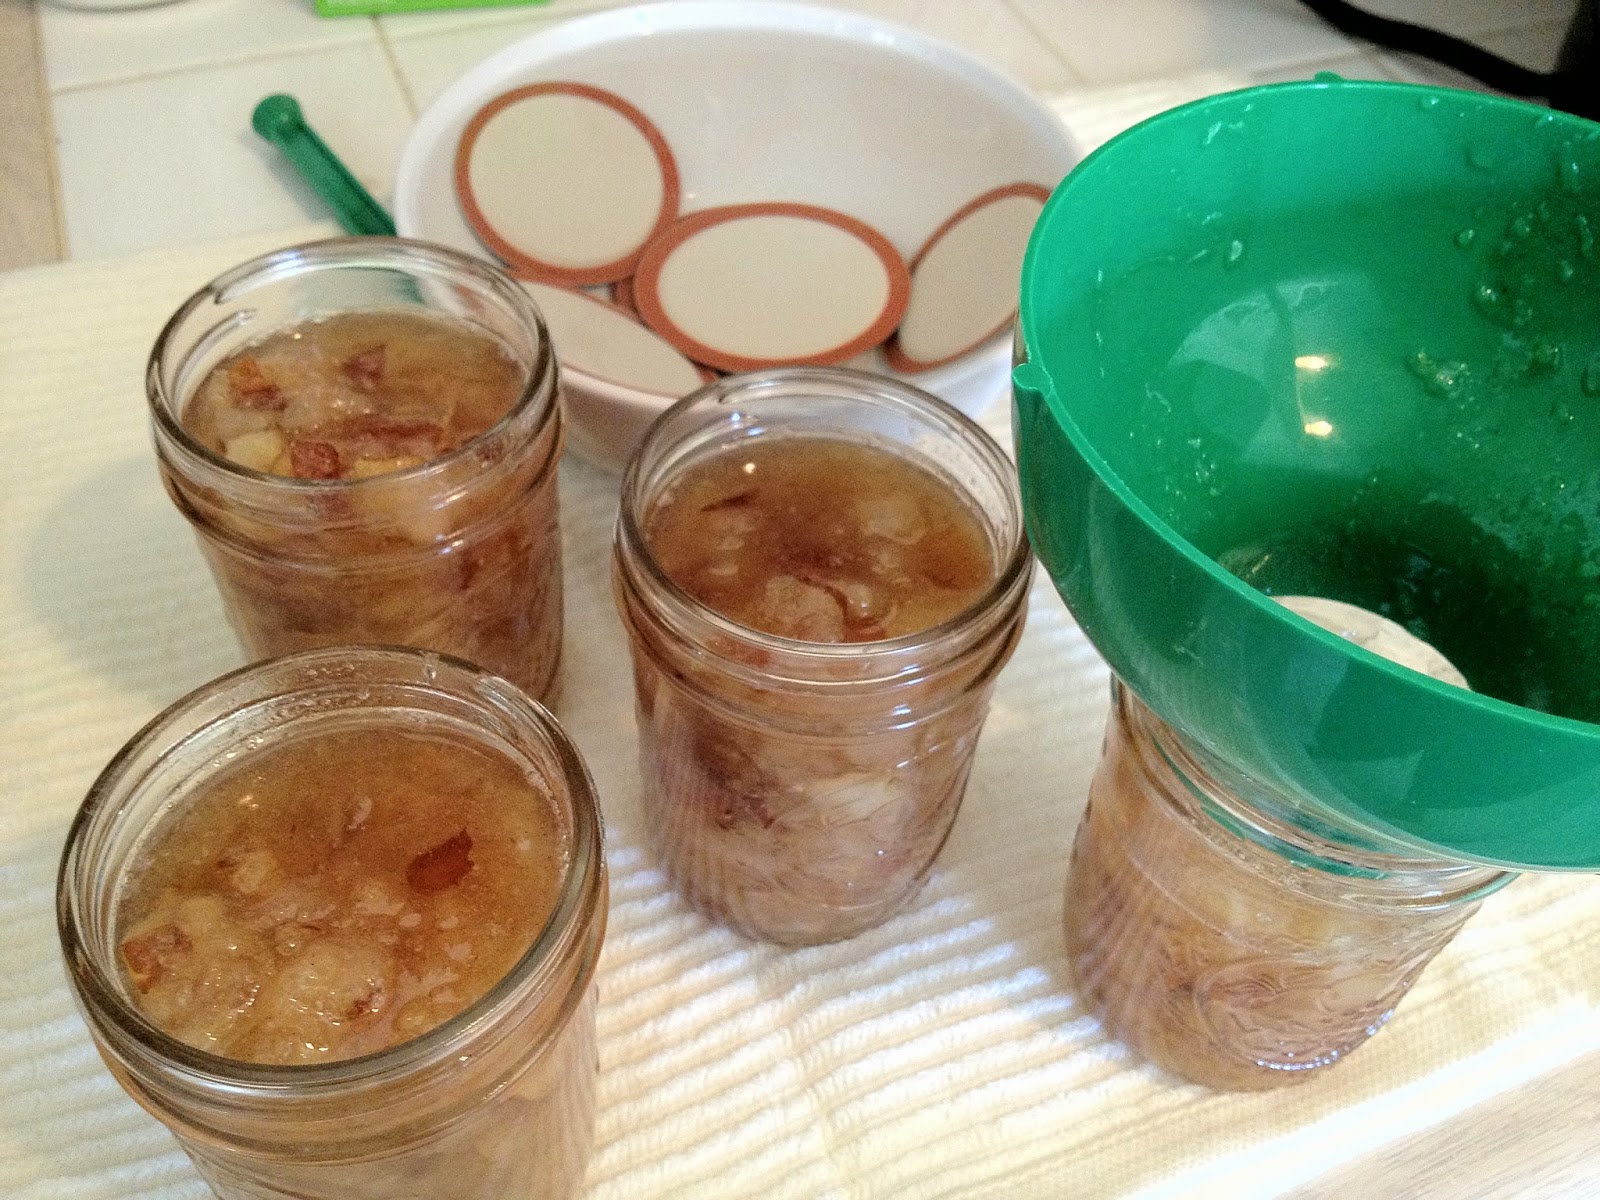
Now remove the empty sanitized jars from the canning pot. Then ladle the Pear Vamilla Jam into the jars using a funnel. Look out for air bubbles and wipe the rims! Place lid on top, screw on the ring, and transfer back into the canning pot.

Return the canning pot to a rolling boil and then start timer for 10 minutes. After 10 minutes remove the jars and place on a nice soft towel to cool off! You should start hearing those glourious pings soon!
I love to eat this spooned onto vanilla ice cream or yogurt. As always if you have any questions just comment below and happy canning!

